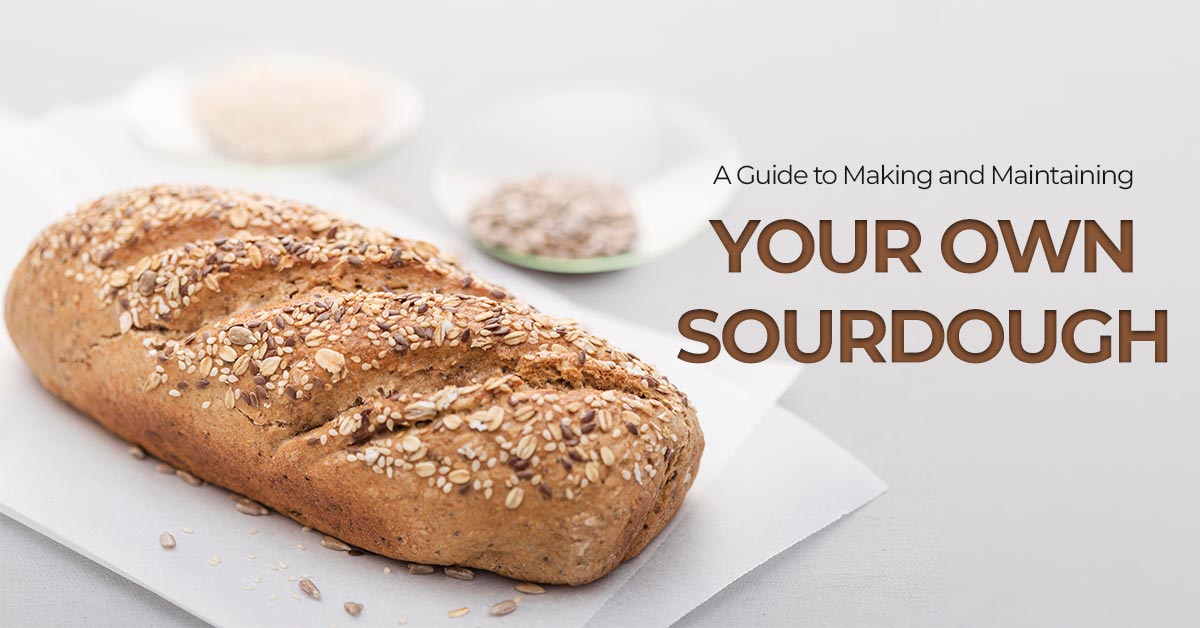
Introduction
The journey of sourdough baking is not just about creating delicious loaves; it’s about cultivating a living culture, a symbiotic relationship between flour, water, and wild yeast. As a beginner, diving into the world of sourdough might seem daunting, but fear not! With patience, practice, and a bit of understanding, you can learn the art of sourdough baking. In this guide by the best baking classes in Chennai, we’ll walk through the basics of making and maintaining your sourdough starter, as well as crafting beautiful loaves that will impress even the most discerning bread aficionados.
Understanding Sourdough
Before we dive into the nitty-gritty of making your own sourdough, it’s essential to understand what sourdough actually is. At its core, sourdough is a naturally leavened bread made using wild yeast and lactobacilli bacteria. These microorganisms exist all around us, and when combined with flour and water, they ferment and create bubbles of carbon dioxide, which leaven the dough. This fermentation process not only gives sourdough its characteristic tangy flavor but also makes it easier to digest compared to commercial yeast bread.
Creating Your Starter
The heart of sourdough baking lies in the starter, a living culture of yeast and bacteria. Creating your own starter is relatively simple, requiring only flour, water, and time. Begin by combining equal amounts of flour and water in a clean glass jar. Stir the mixture until it resembles thick pancake batter, then loosely cover the jar with a clean cloth or plastic wrap.
Over the next few days, you’ll begin to see bubbles forming in the mixture, indicating that fermentation is taking place. As the wild yeast and bacteria multiply, the starter will become bubbly and increase in volume. To feed your starter, discard half of it and add equal parts flour and water, stirring until smooth. Repeat this process daily, and within a week or two, your starter should be active and ready to use.
Maintaining Your Starter
Once your starter is established, it’s important to store it correctly to keep it healthy and active. Store your starter in the refrigerator when not in use, feeding it once a week to keep it alive. Before using your starter in a recipe, be sure to refresh it by feeding it twice daily for a few days to ensure it’s at its peak activity.
If you neglect your starter or notice any off smells or colors, don’t panic! It’s common for starters to go through phases of activity, especially when they’re young. Simply continue feeding your starter regularly, and it should bounce back to health in no time.
Crafting Your Loaves
With a healthy starter on hand, you’re ready to start baking sourdough loaves. While there are countless recipes and techniques out there, here’s a basic outline by our baking classes in Chennai to get you started with a clear understanding:
Mixing:
In a big mixing bowl, mix flour, water, and a part of your active sourdough starter. Mix until a shaggy dough forms, then let it rest for 30 minutes to an hour to allow the flour to hydrate.
Kneading:
After the initial rest, add salt to the dough and knead it until smooth and elastic. This develops the gluten in the dough, giving your bread structure and strength.
Bulk Fermentation:
Transfer the mixture to a clean, lightly oiled bowl and close it with a slightly wet cloth. Let the dough ferment at room temperature for several hours, folding it every 30 minutes to develop flavor and strength.
Shaping:
Once the dough has puffed up and doubled in size, gently shape it into a loaf, being careful not to deflate it too much. Place the shaped loaf into a floured banneton or proofing basket to support its shape during the final rise.
Final Proof: Allow the shaped loaf to rise at room temperature until it’s puffy and holds an indent when gently pressed with a finger. This final proofing stage can take from 1 to 4 hours, it depends on the temperature of your kitchen or the place you are working and the activity of your starter.
Baking:
Preheat your microwave oven and a Dutch oven or baking stone to a high temperature. Carefully transfer the proofed loaf to the preheated vessel and bake it with the lid on for the first part of the bake to create steam, then remove the lid to allow the crust to brown and develop flavor.
Cooling:
Once the loaf is beautifully golden brown and sounds hollow when slightly tapped on the bottom, remove it from the oven and let it cool on a wire rack for at least 1 hour before slicing. This cooling period allows the crumb structure to set, ensuring a soft and chewy interior.
Conclusion
Starting on the journey of sourdough baking is a rewarding and fulfilling endeavor. While there may be challenges along the way, the joy of pulling a freshly baked loaf from the oven, with its crackling crust and airy crumb, makes it all worth it. With practice and patience with the guidance of our bakery classes in Chennai, you’ll develop your own techniques and recipes, creating sourdough masterpieces that will delight your friends and family for years to come. So dust off your apron, and let’s get baking!


